March 12, 2008
Hardware: USB On/Off switch
Since I am now doing some developments based on the top of the giants of Rockbox founders. I had recently mentioned here the birth of one tool to help with something I am porting to run on my mp3 player. Well, going through the porting process was causing a lot of plug/unplug for software loads and resets. I didn't want to wear out or break the pads on either the laptop, the Sansa cable, or the Sansa itself. Rather than daisy chaining a lot of USB cables, I decided I needed to build a switch.
The switch allows me to remove a USB peripheral without removing any physical connections. This was the final product:
click for full size image.
Click the next link to see more background info and photos.
The parts list:
1 Altoids Gum case
1 2-pack of Radio Shack Slide Switch (SPDT Submini part: 275-409)
1 USB Male connector
1 USB Female connector
1 Roll of Kapton Tape
1 Stick of hot glue
1 Hot Glue Gun
1 Silver bearing solder (really thin, also at Radio Shack)
1 12 Watt Weller soldering Iron
1 Metal Cutter
1 Multimeter
First step was to attach the Ground, USB D+, USB D- wires to each other on the male and female connectors. I soldered these points and wrapped them with the Kapton tape. After doing each individual point, I wrapped the wad of three wires together to bind them together and ensured there were no shorts with my multimeter.
The next step was attaching the power of the Male USB to the middle pin on the slide switch with the soldering iron. Then I did likewise with the Female USB and attached to the end pin of the slide switch. I tested continuity and lack of shorts on all the lines once again, then I switched the switch to the off position and tested to ensure no continuity existed on the power line. Success!
This is what that all looks like:
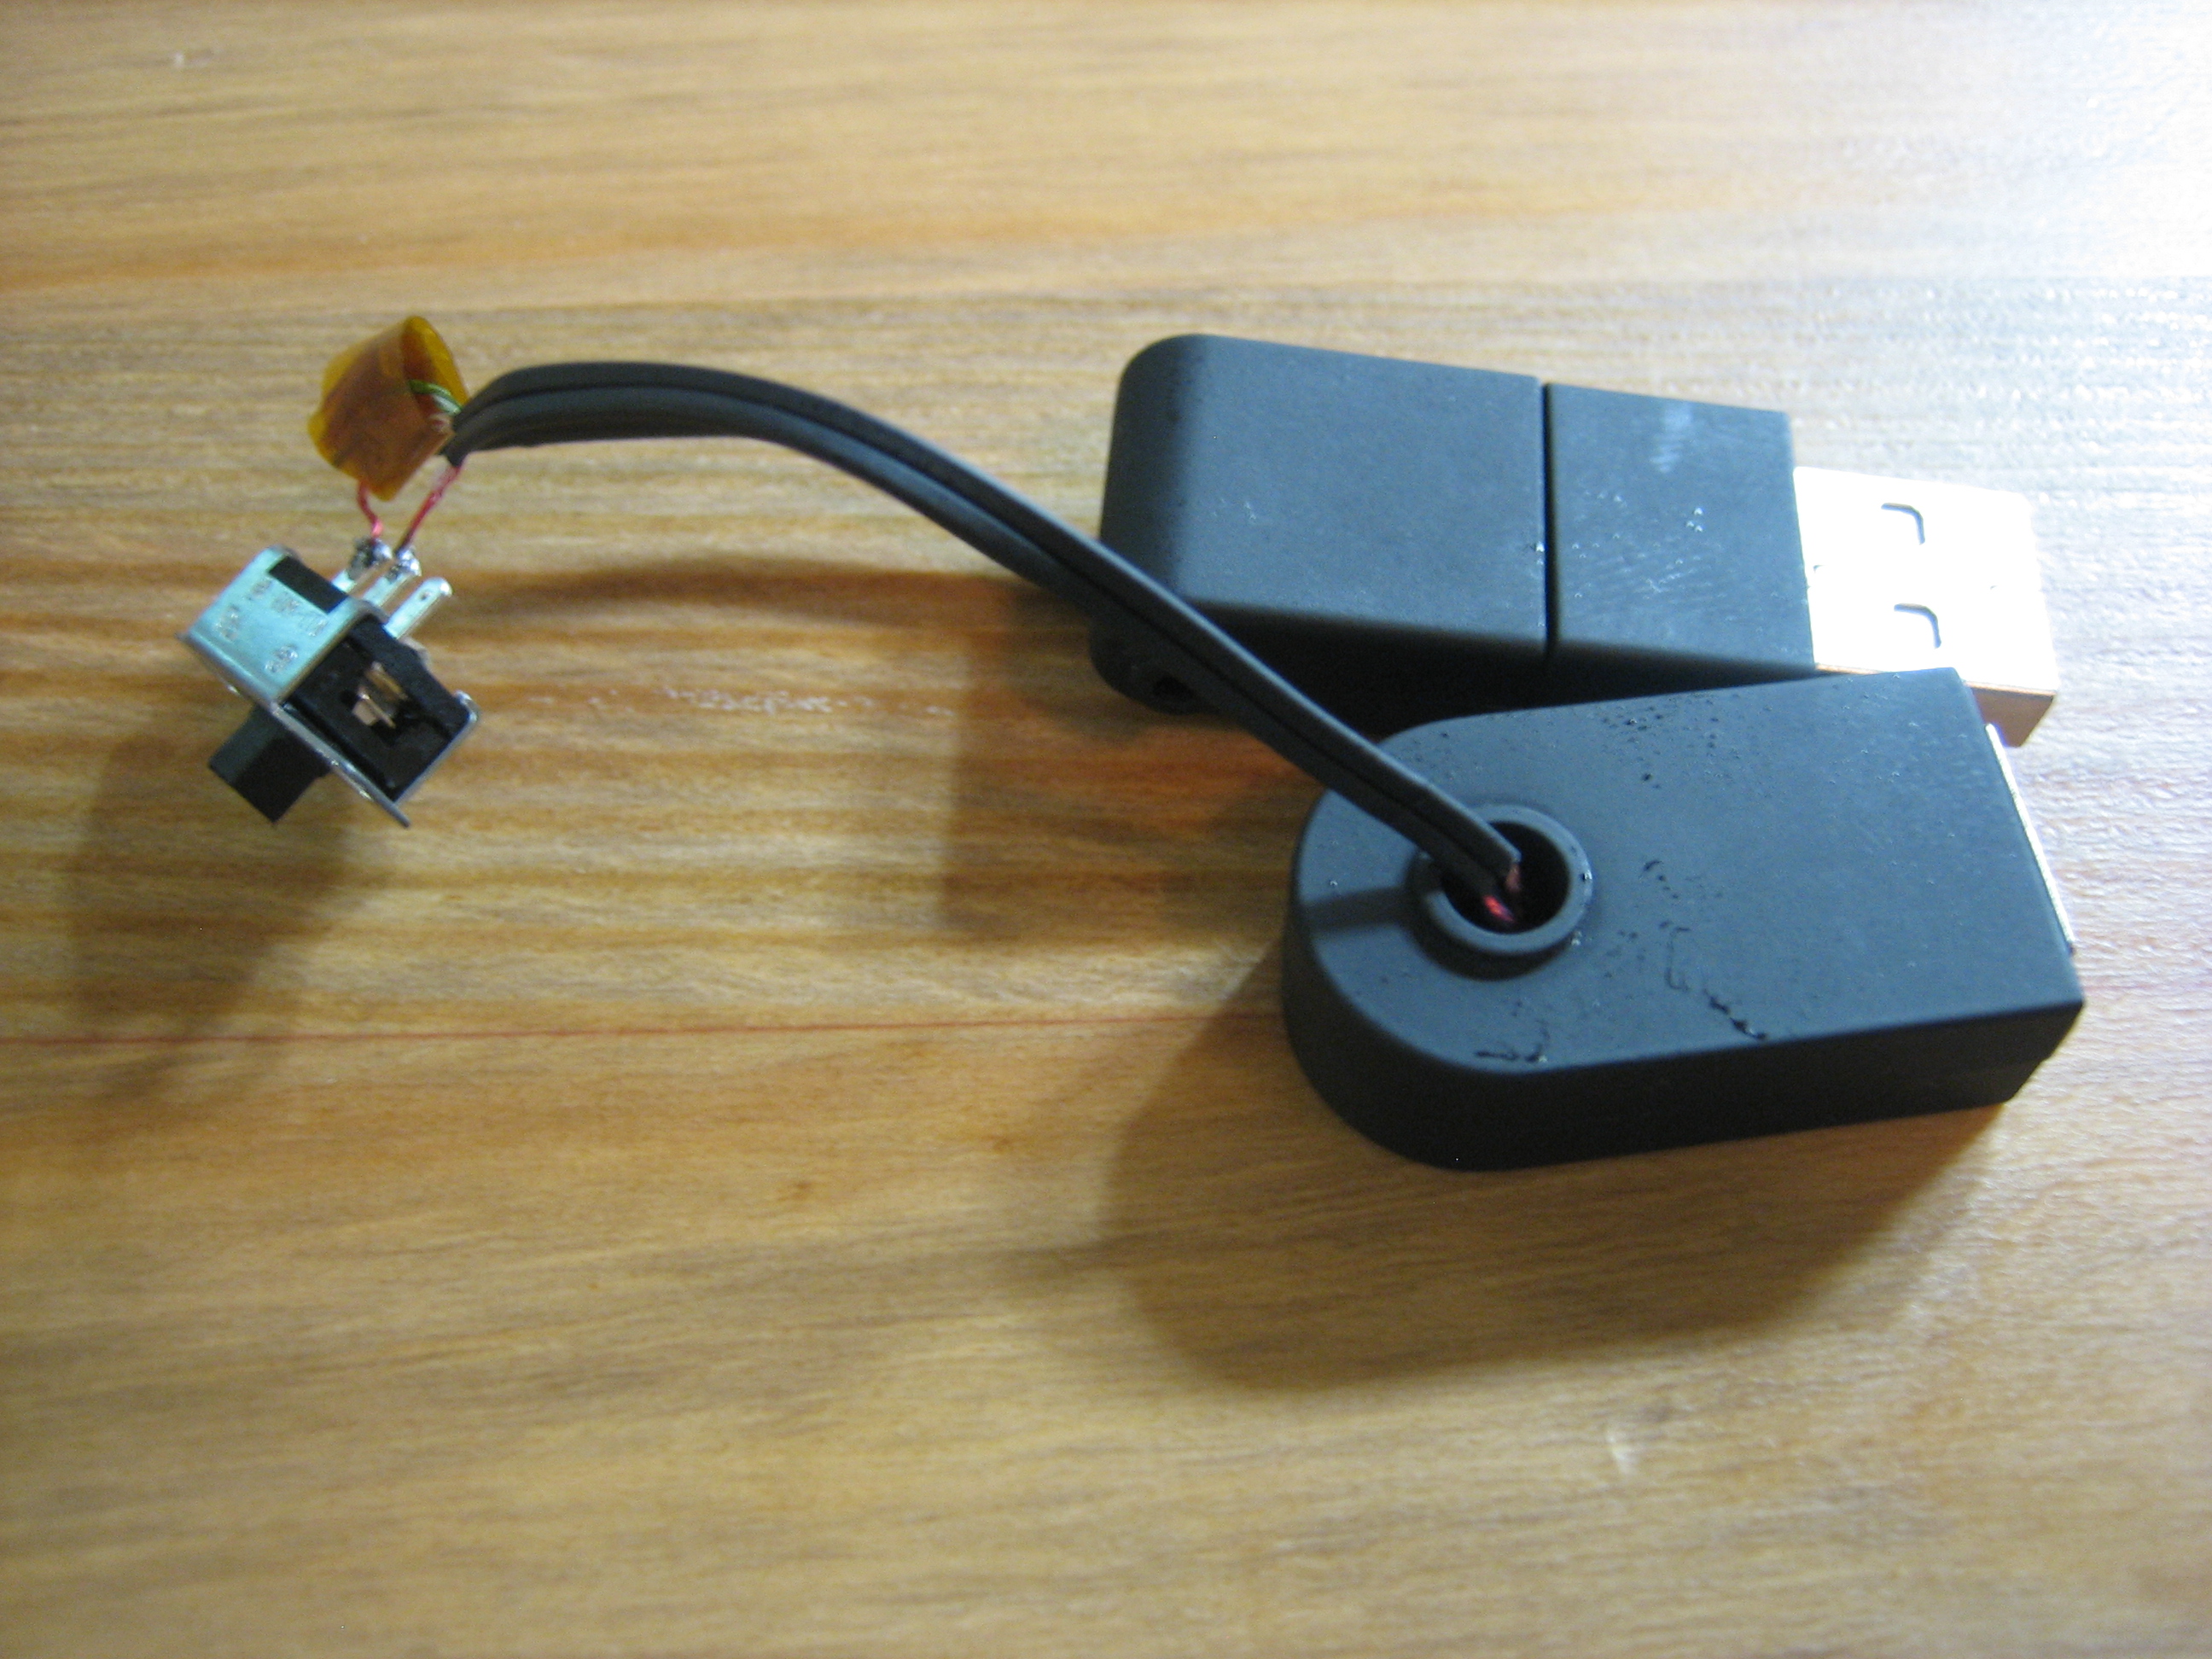
click for full size image.
Another view:
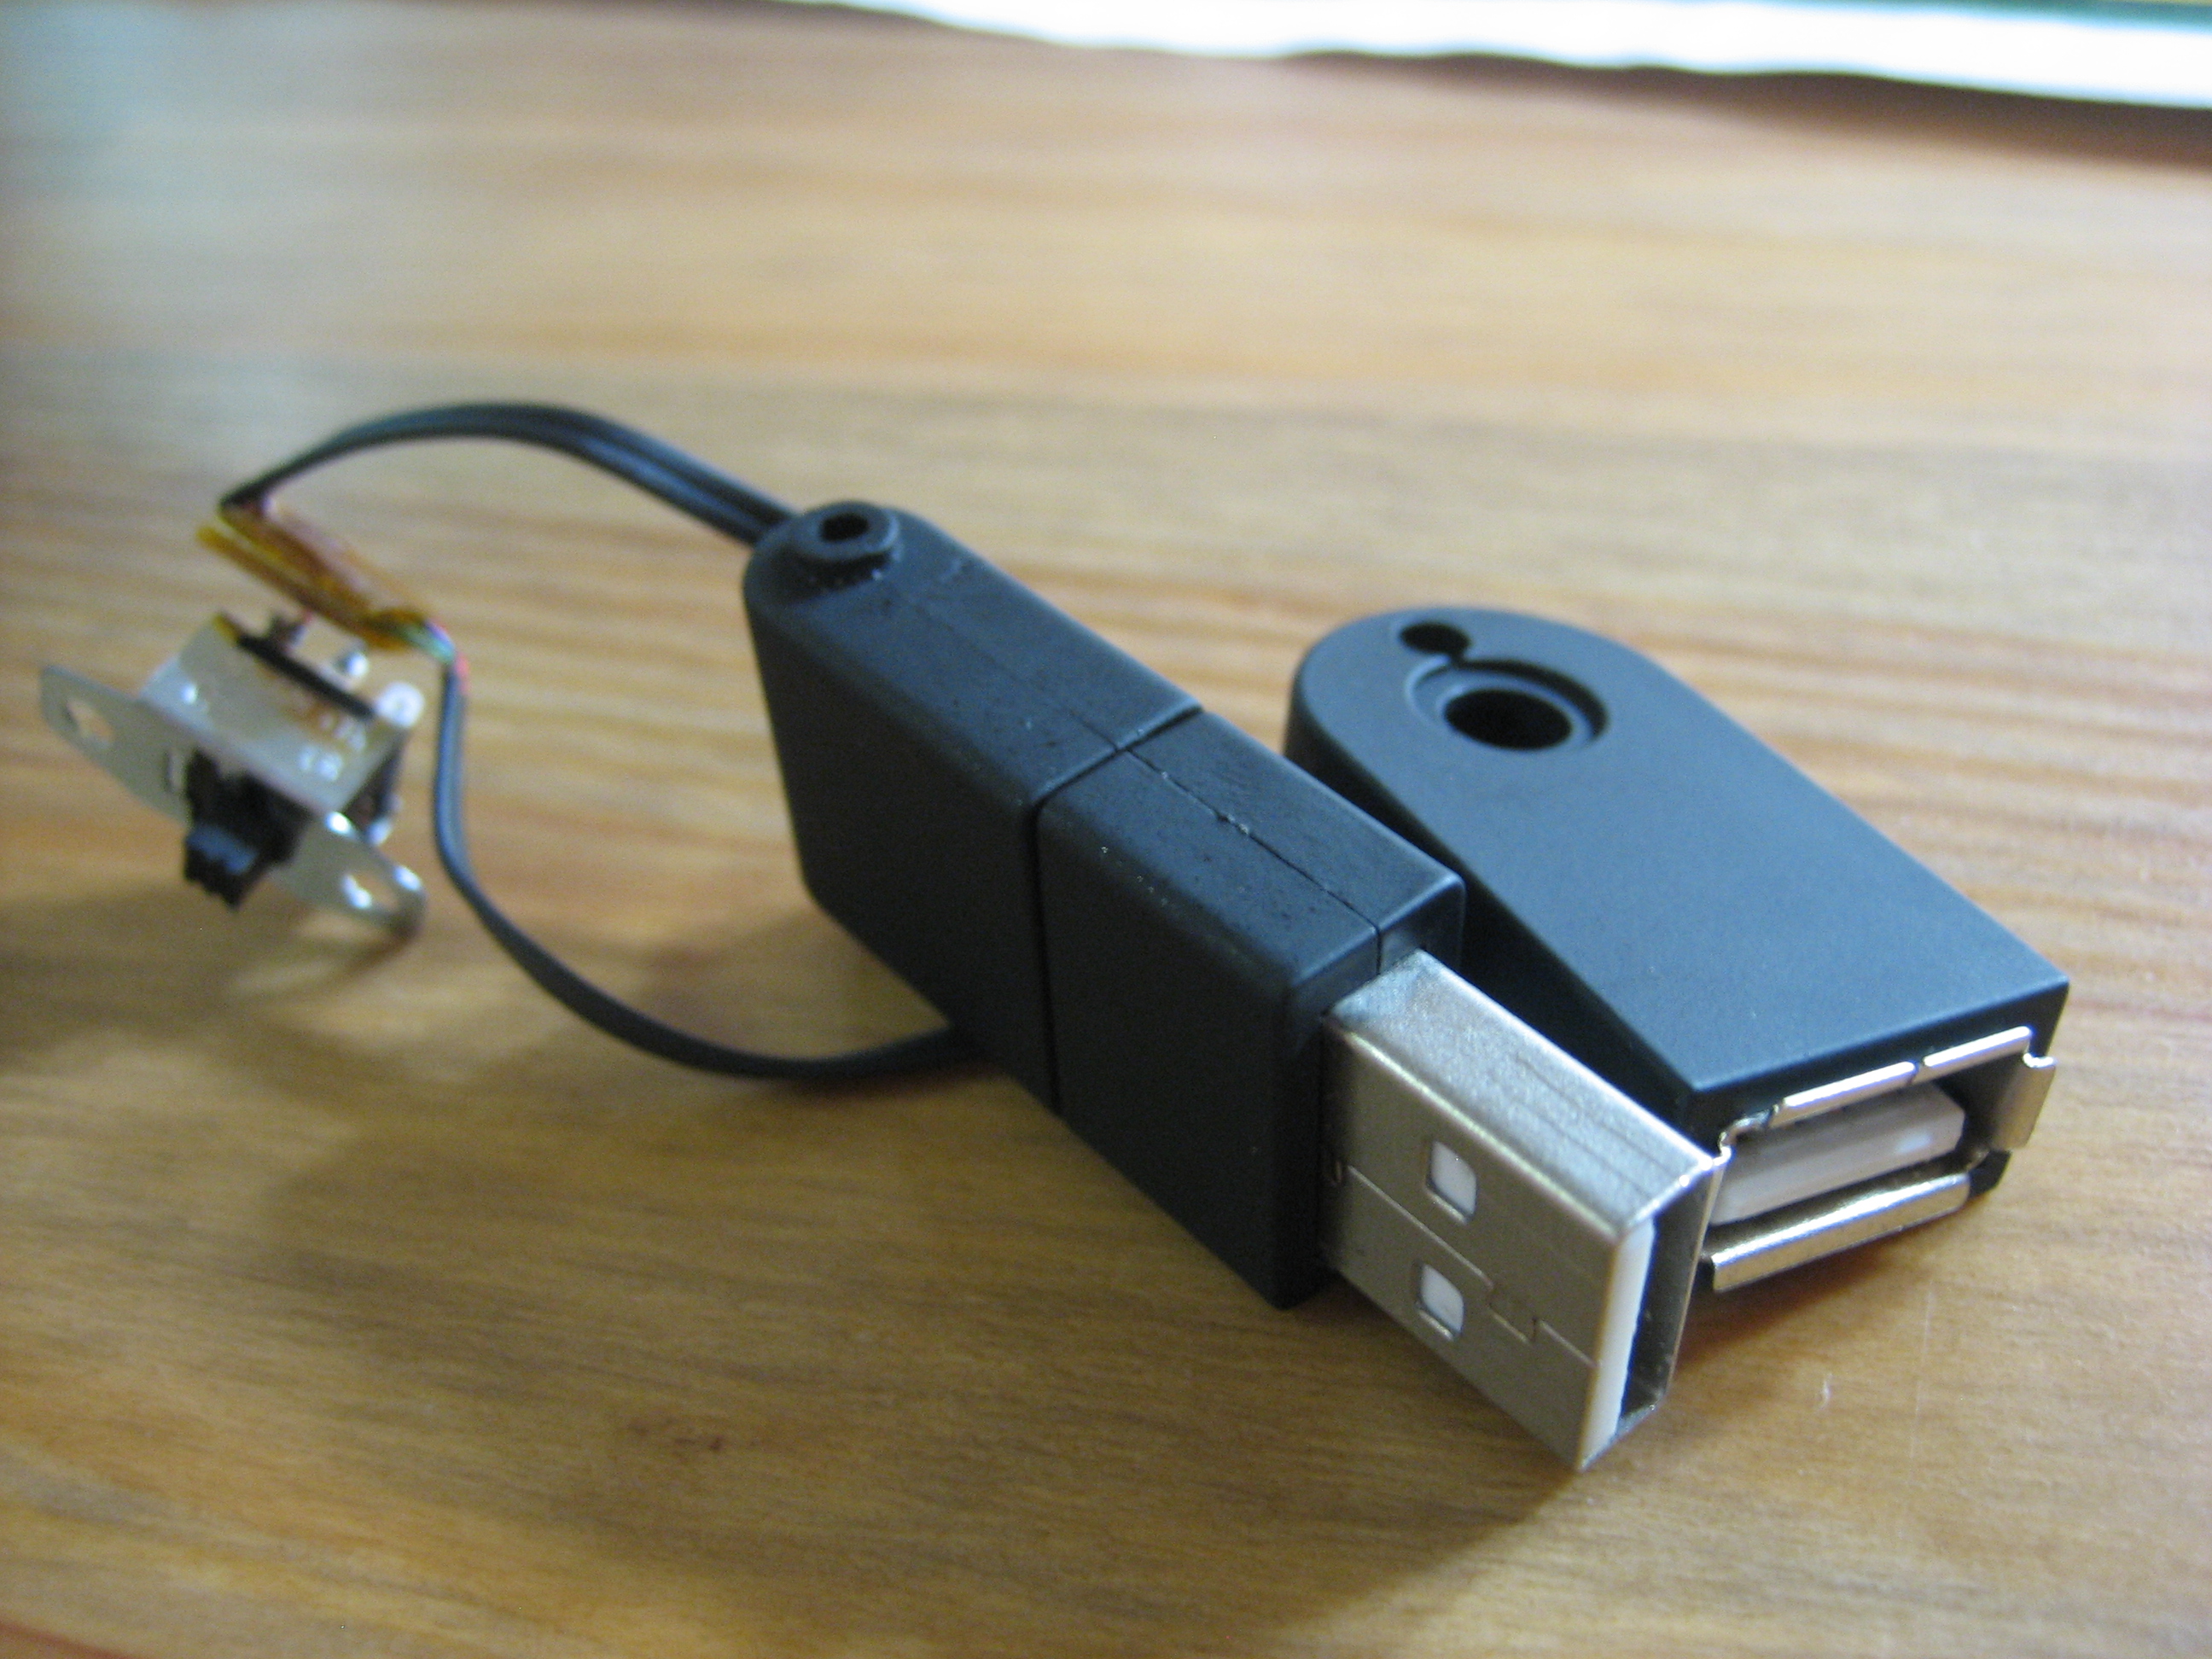
click for full size image.
I wrapped the power connectors in kapton tape. I tested the above rig with the laptop and a USB bluetooth dongle, since I didn't fancy potential of destroying more expensive components or flash drives with data not yet backed up. It worked well!
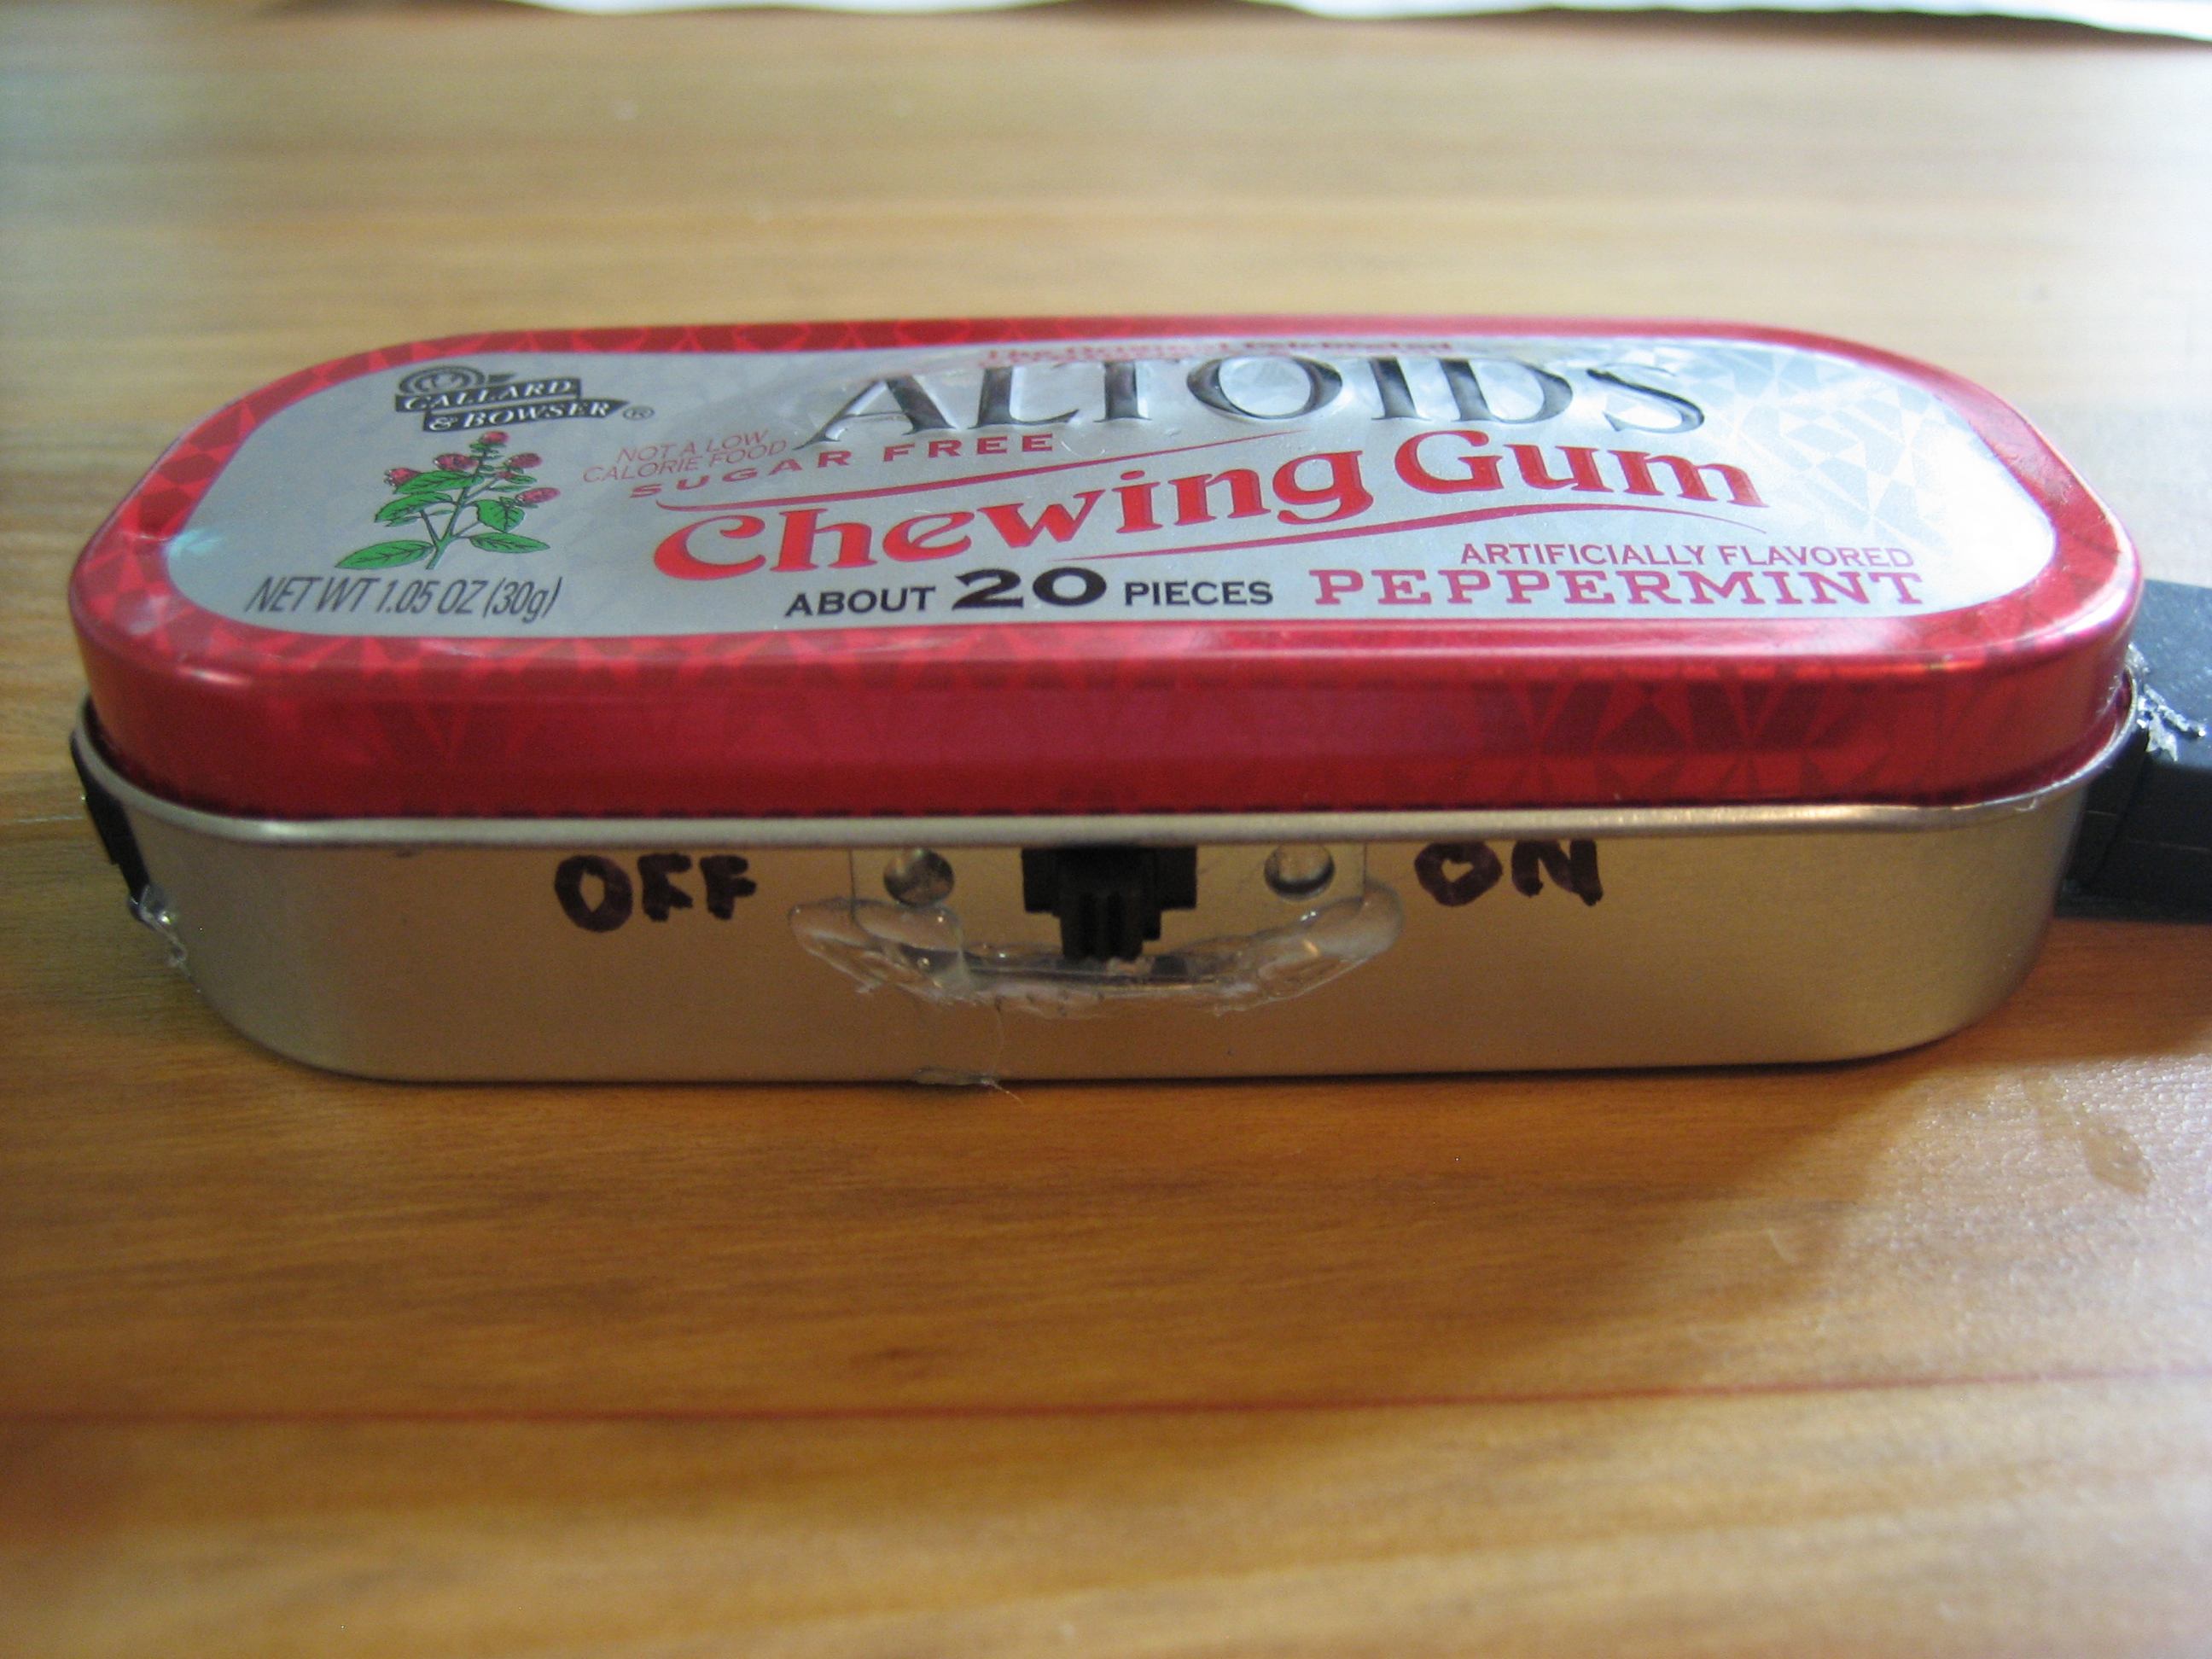
Then I went ahead and measured the parts and used the metal cutters to cut the altoids gum case to place the switch, USB male and USB female. I bent the sharp metal edges down and fitted the pieces and ensured there were no shorts since this case is metal. After that it was hot glue time to keep things in place. Here is the finished project, not too sexy looking but it gets the job done.
Top view:
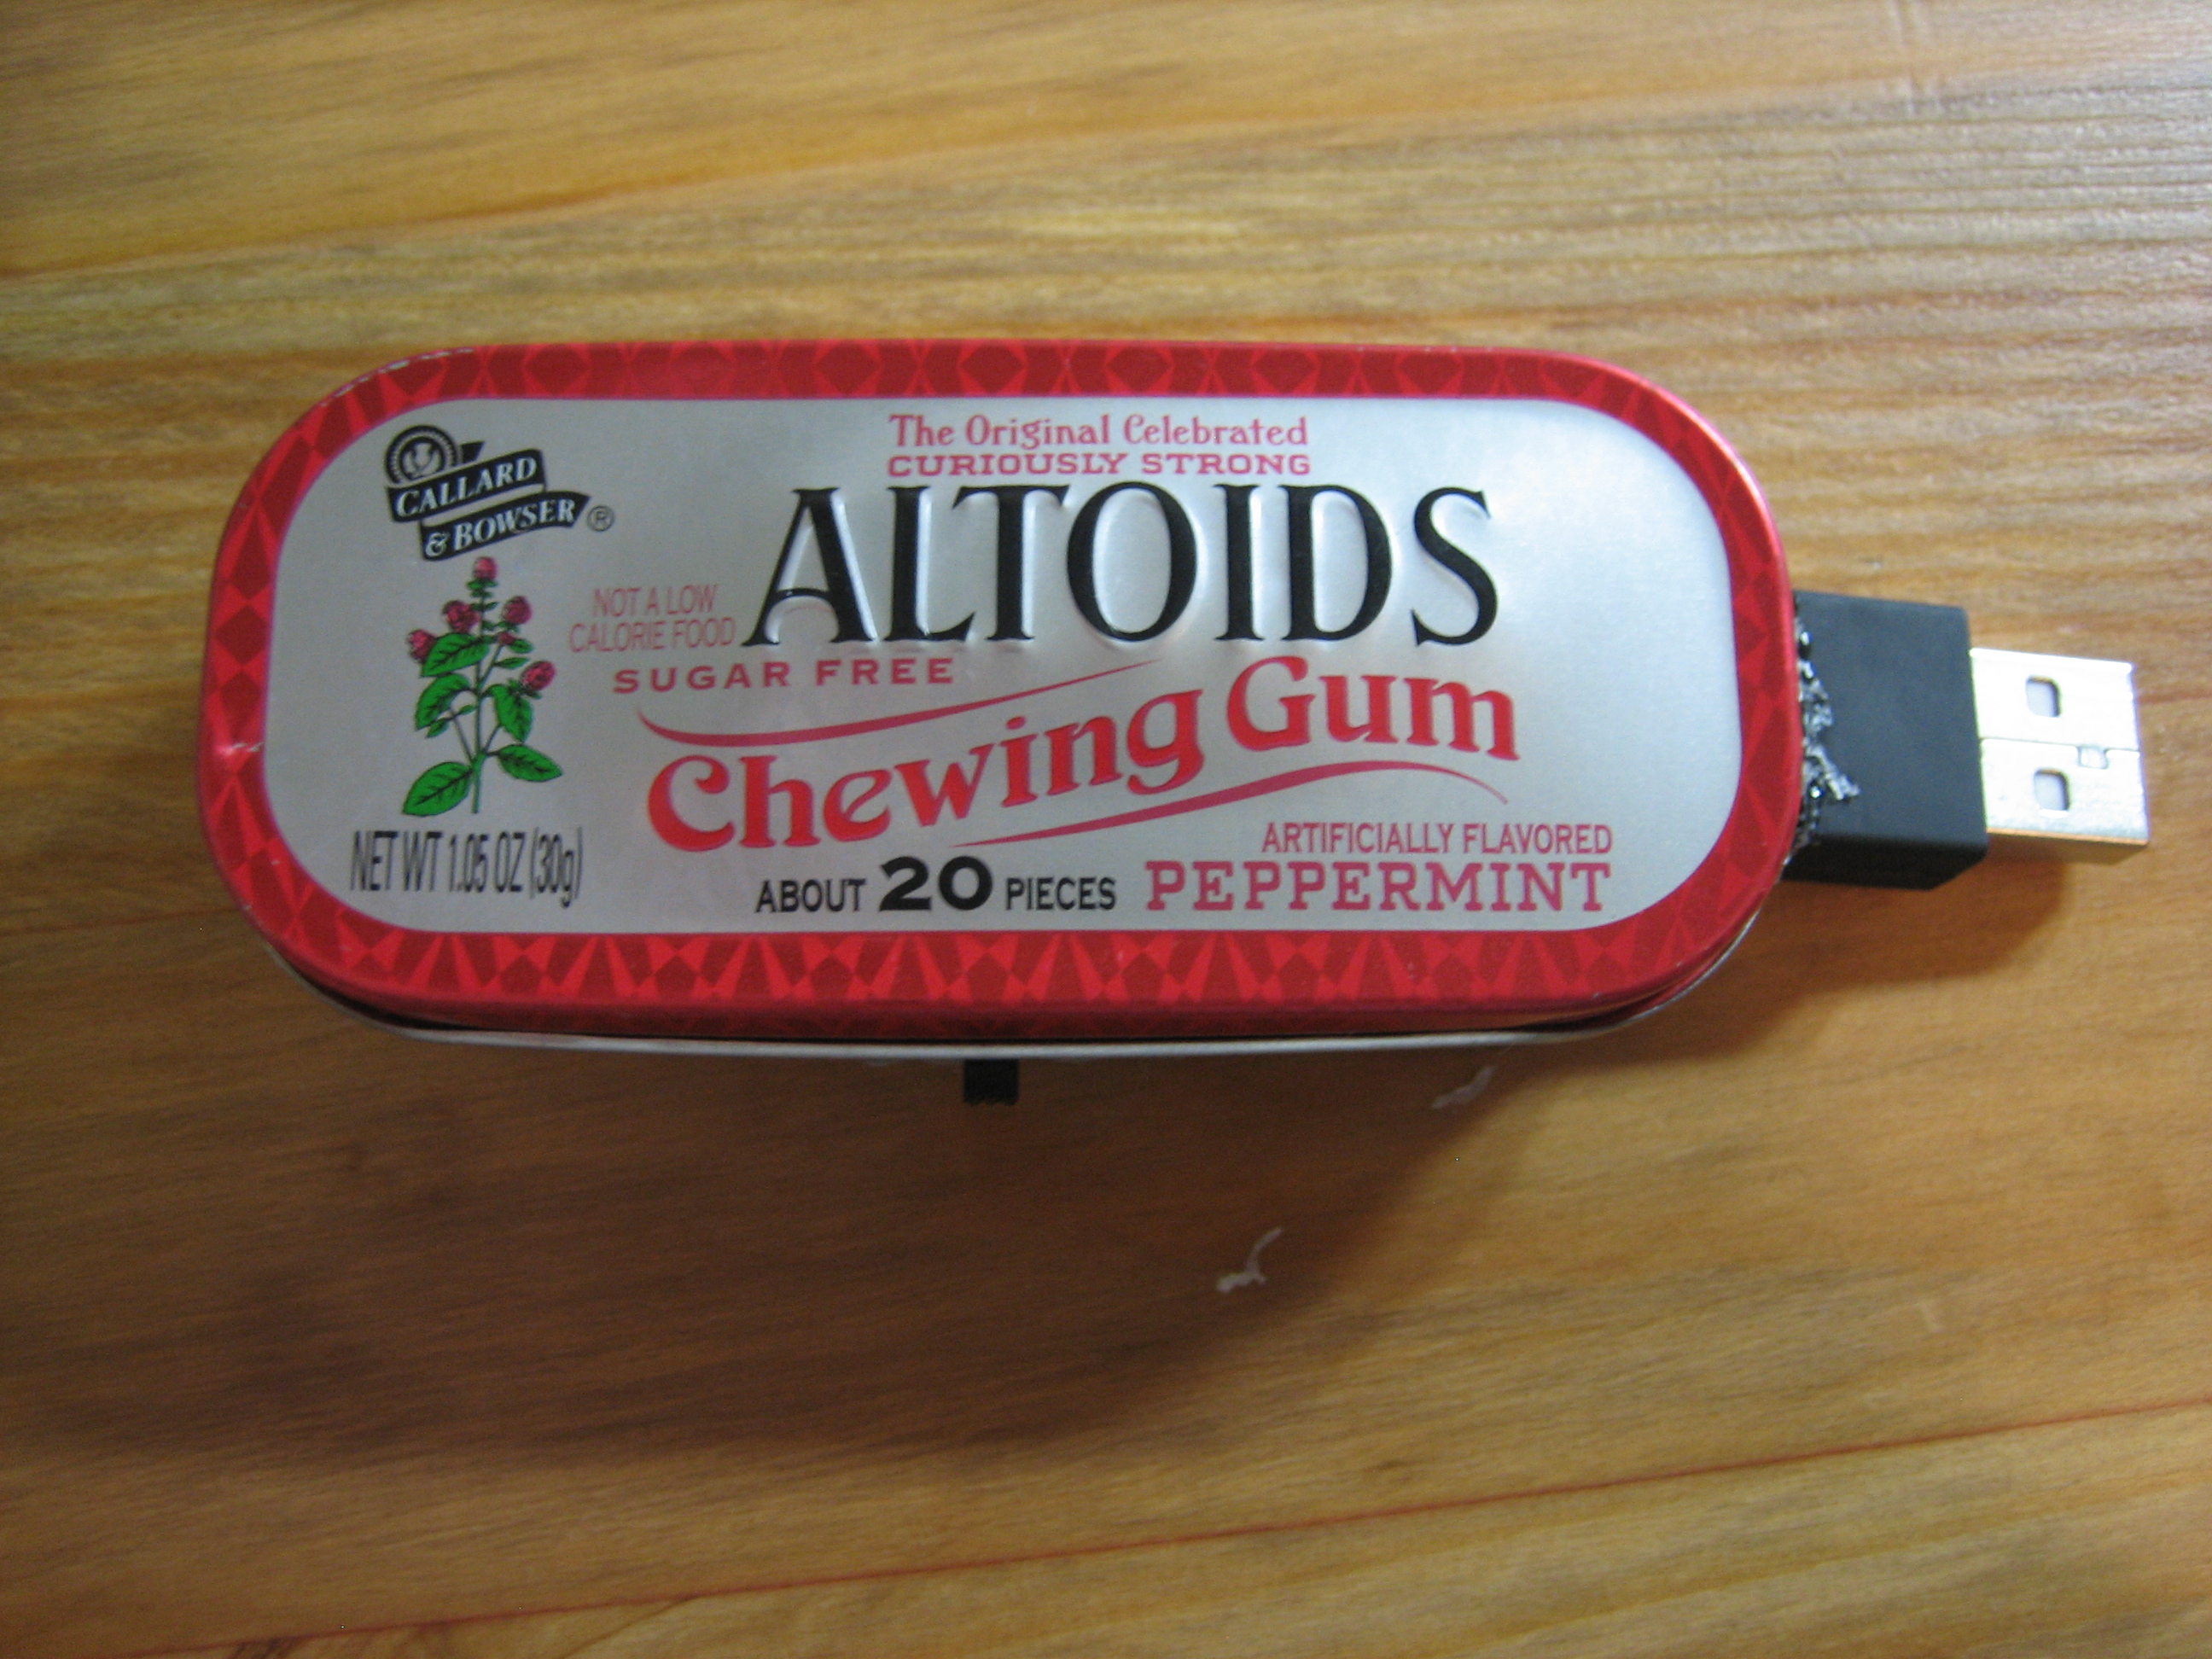
click for full size image.
Side view (Male Connector):
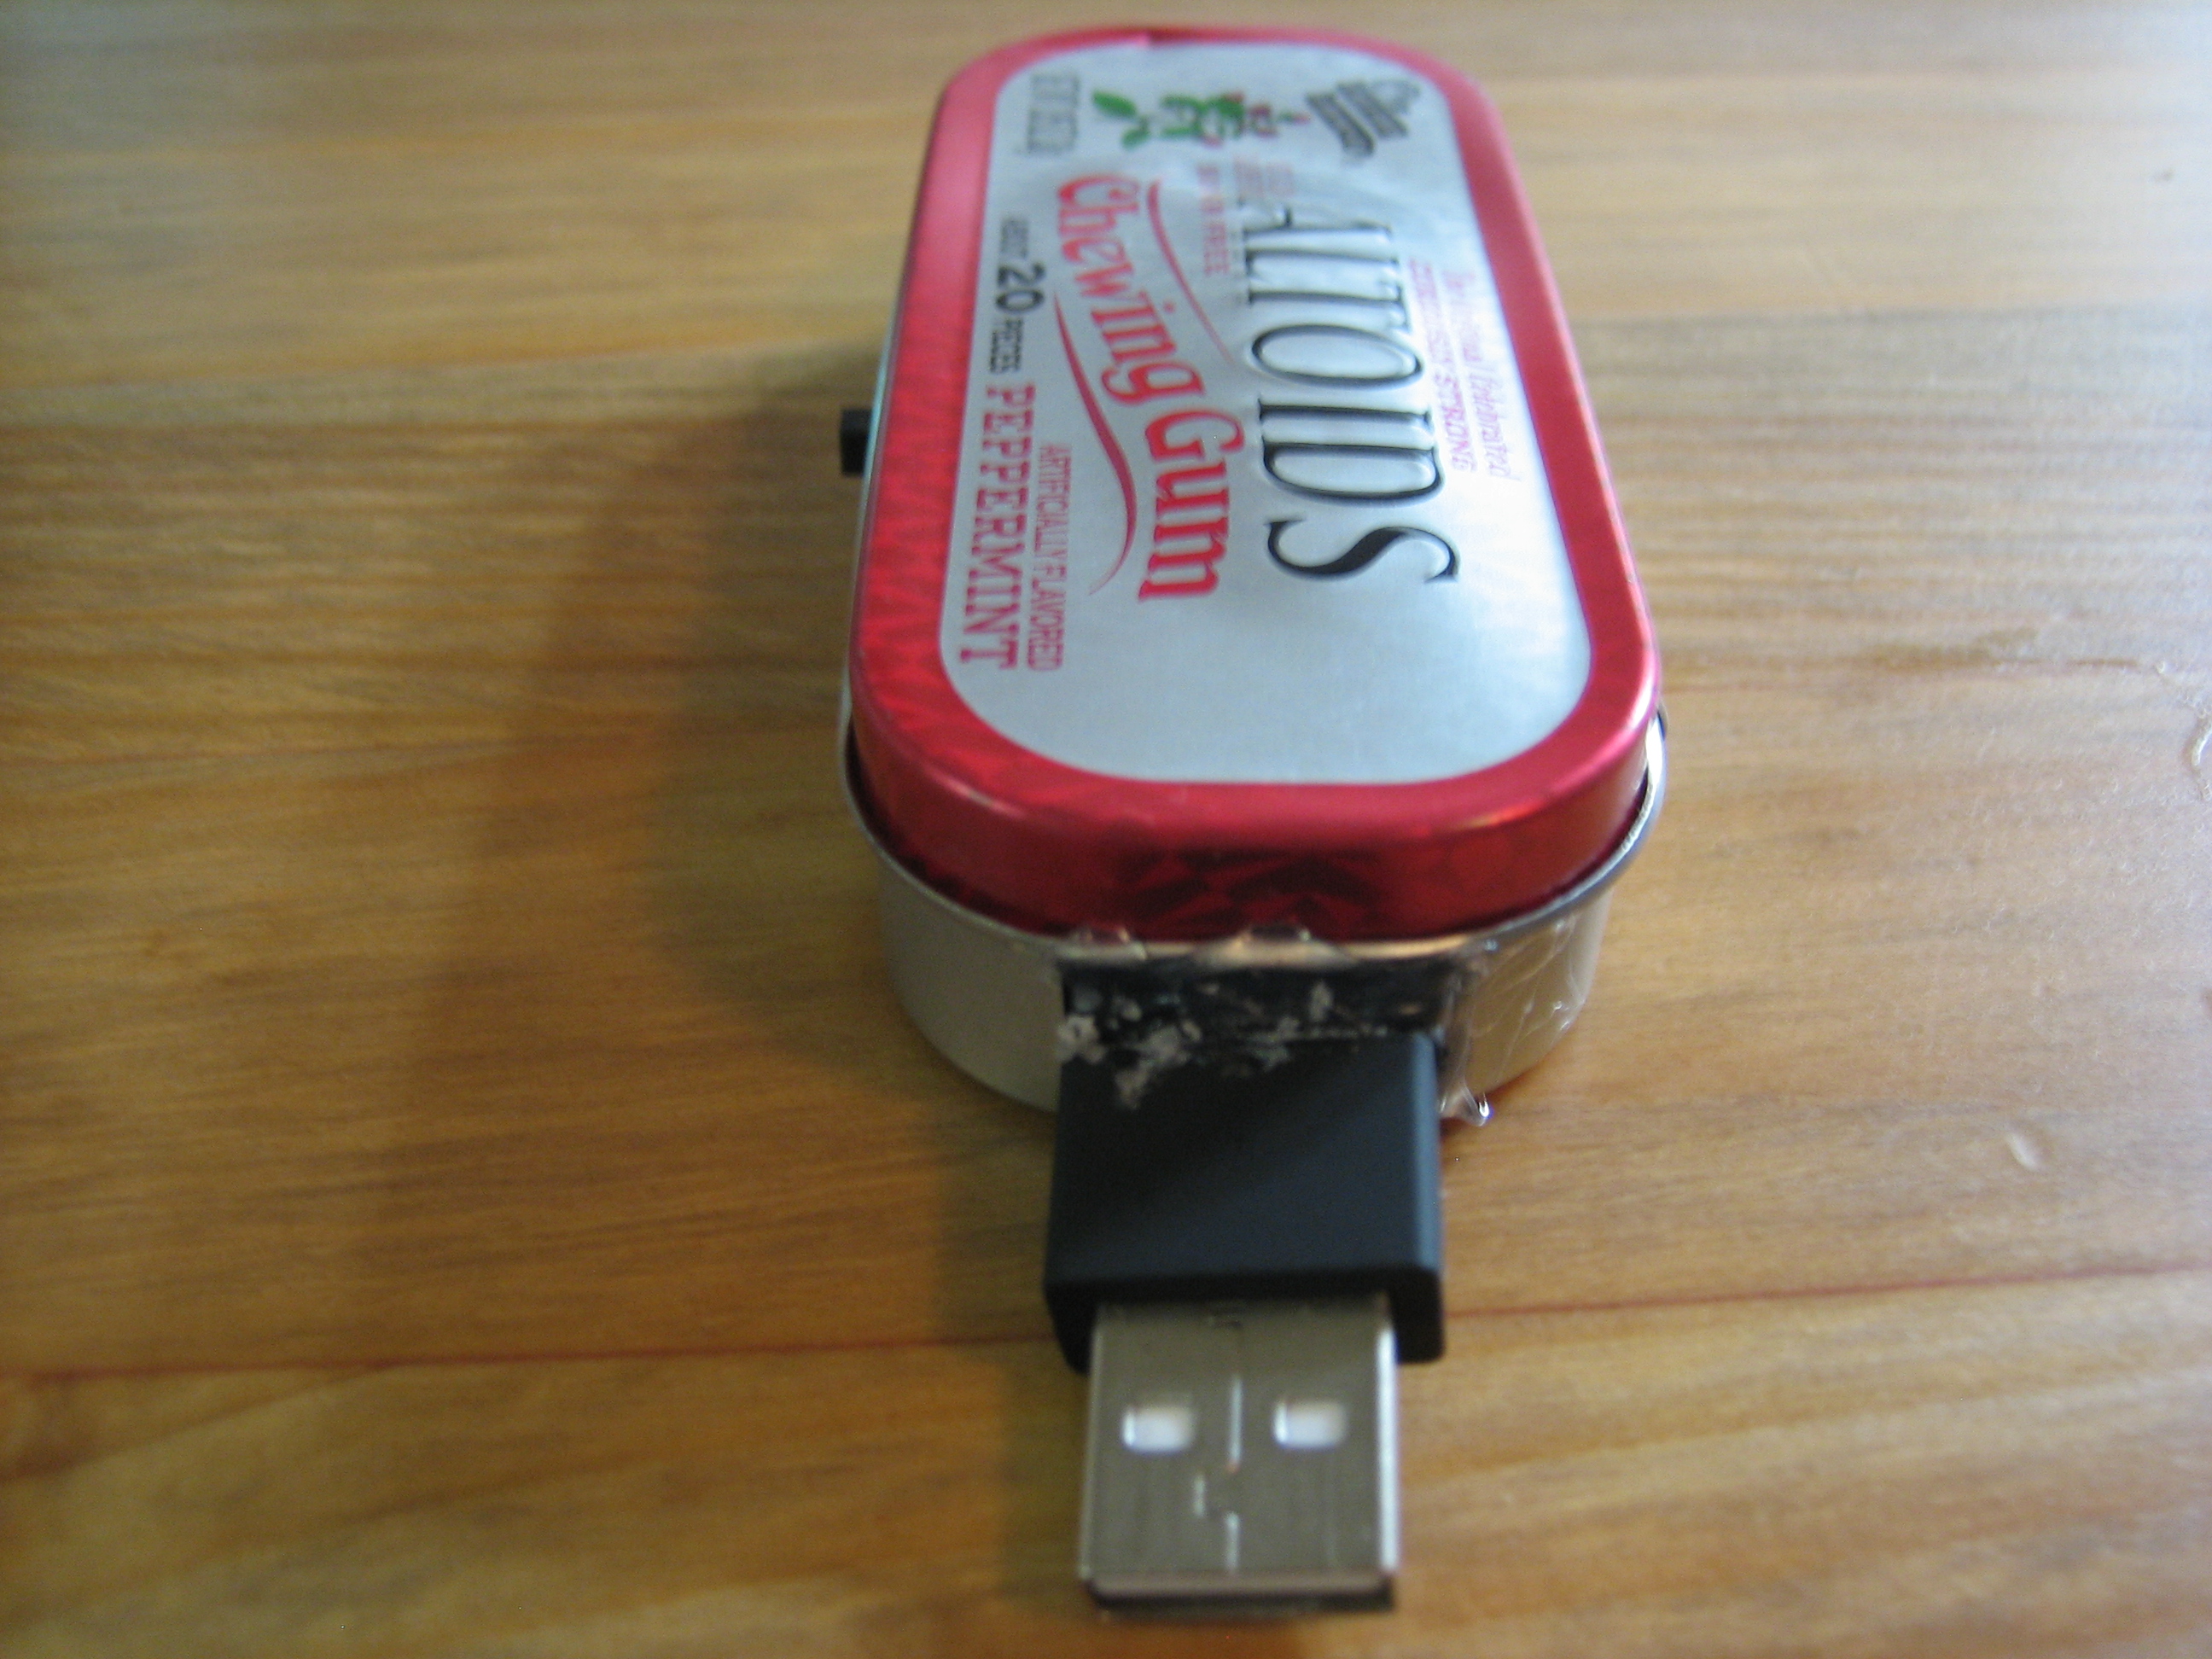
click for full size image.
Other Side view (Female Connector):
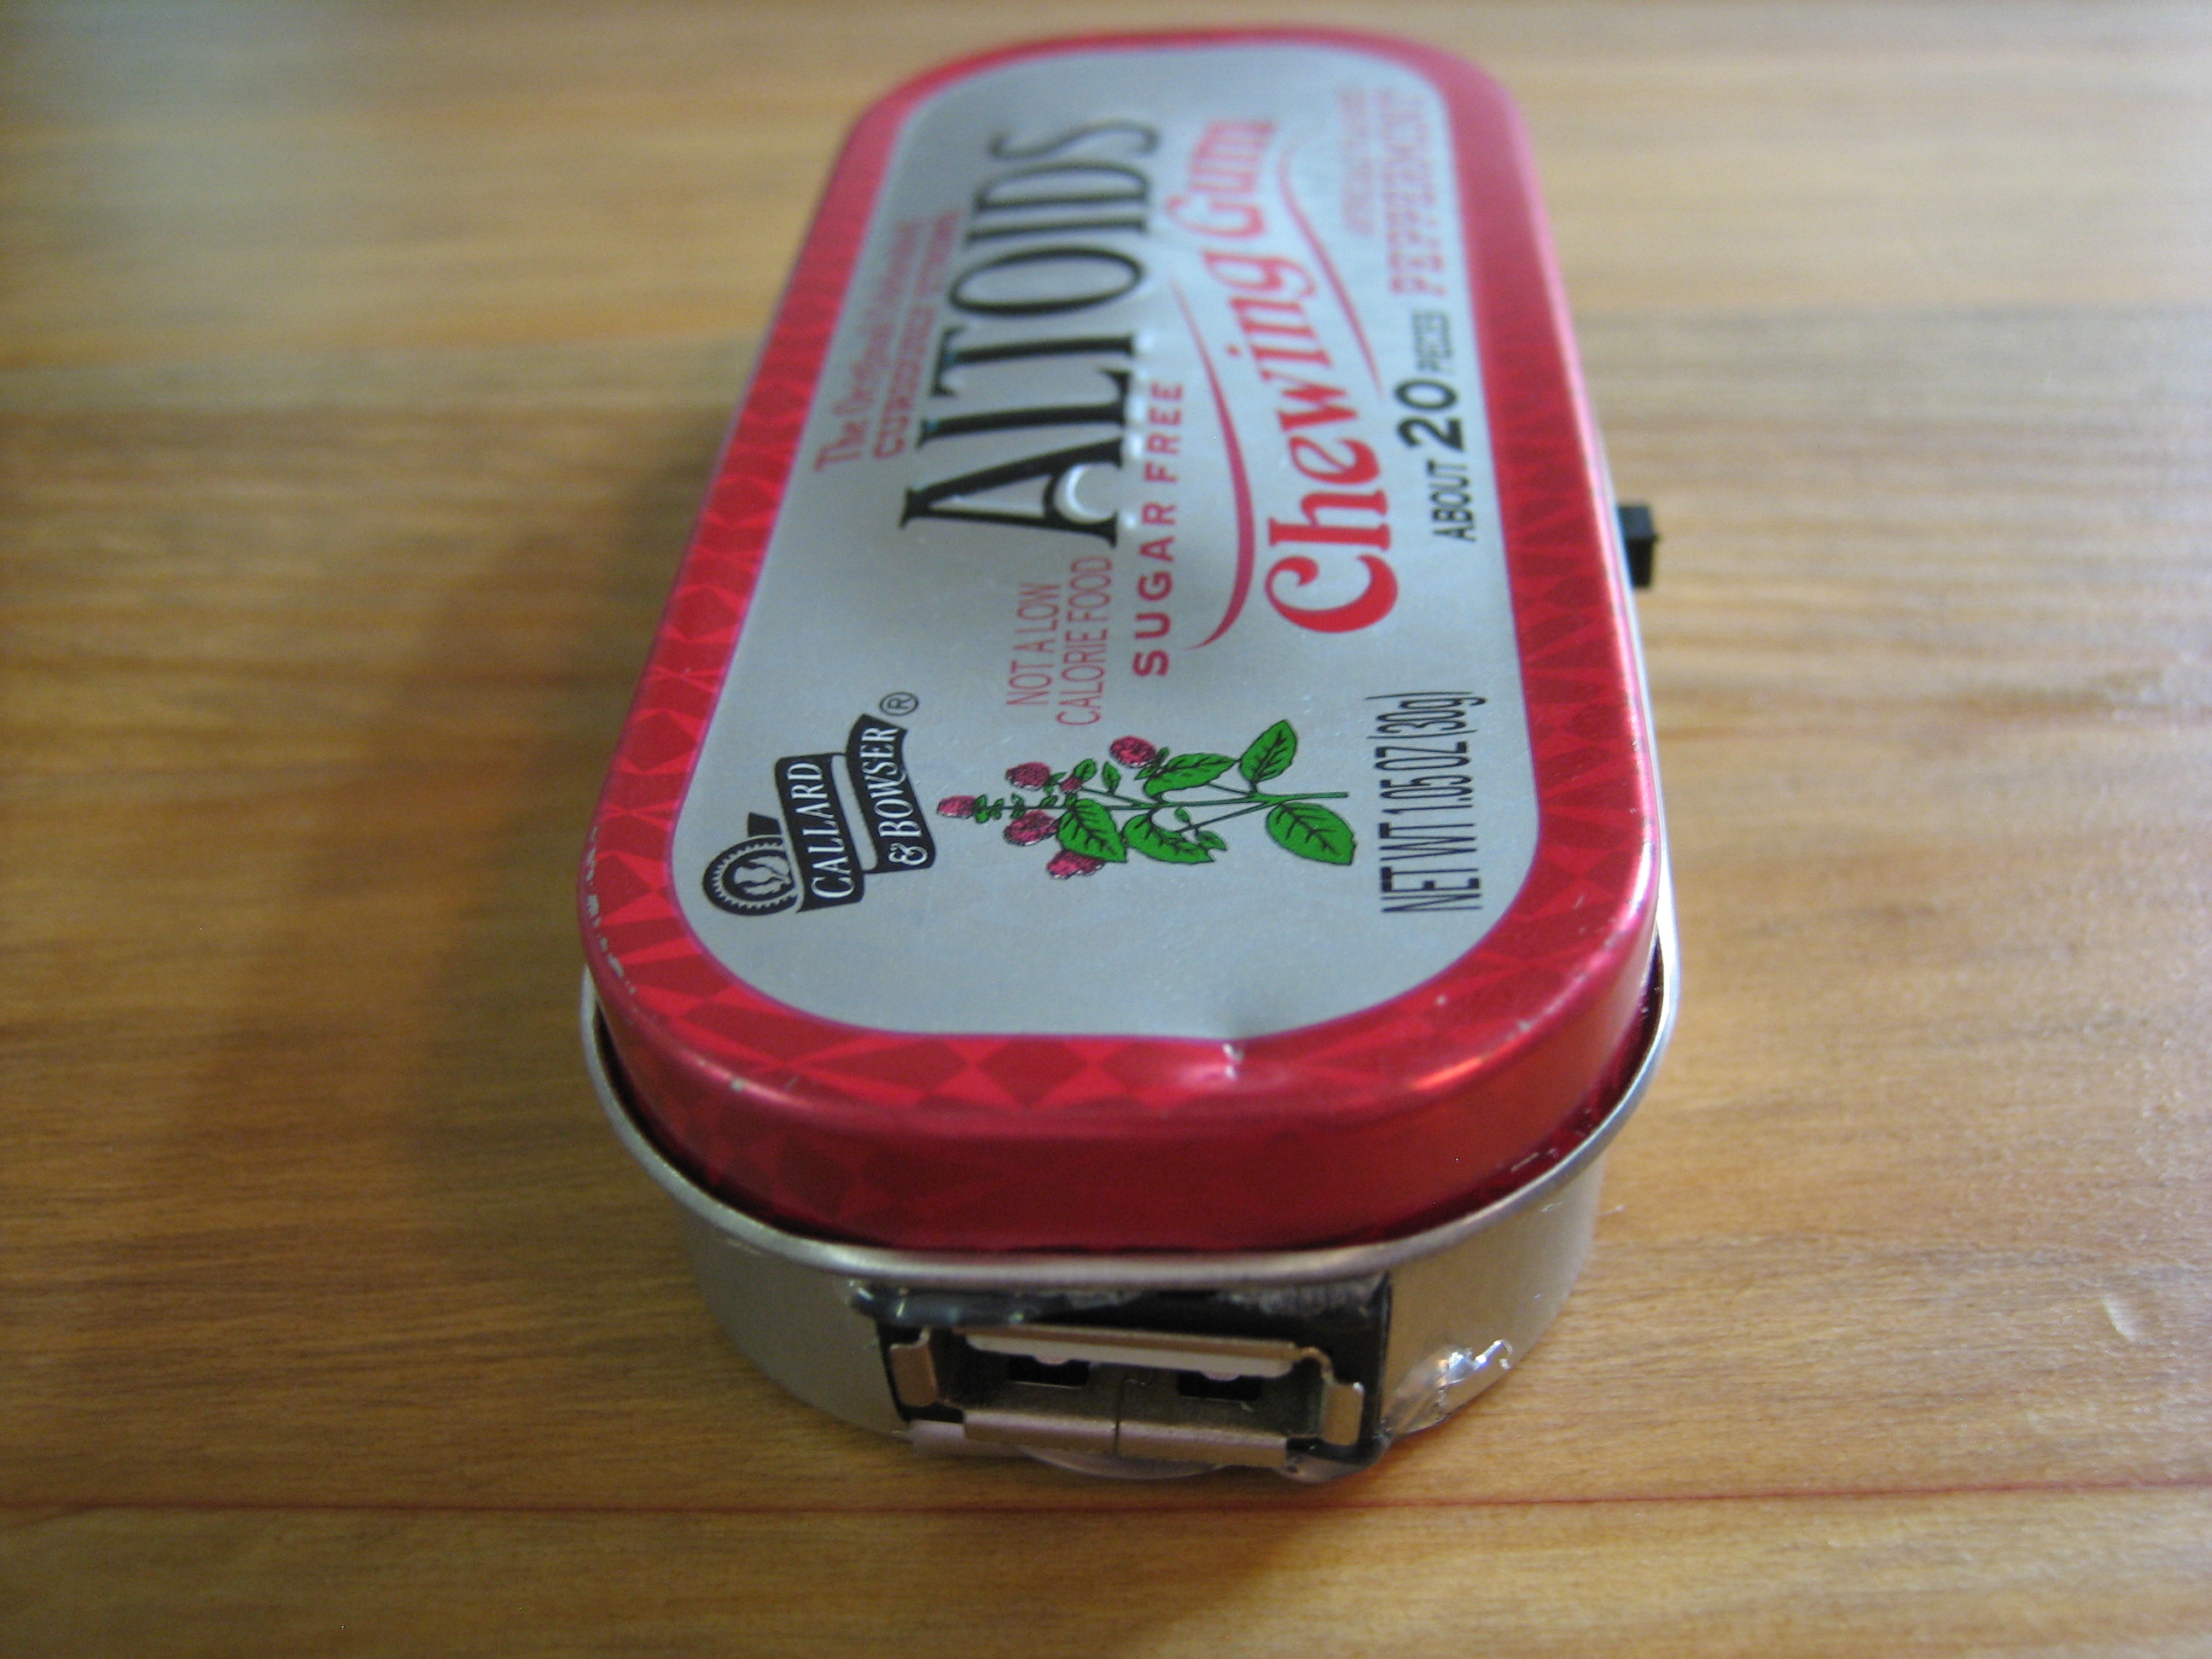
click for full size image.
Comments
If you lived in Canada, Radio Shack would still be in business north of the border.